Valentine's Nails, In 5 Easy Steps
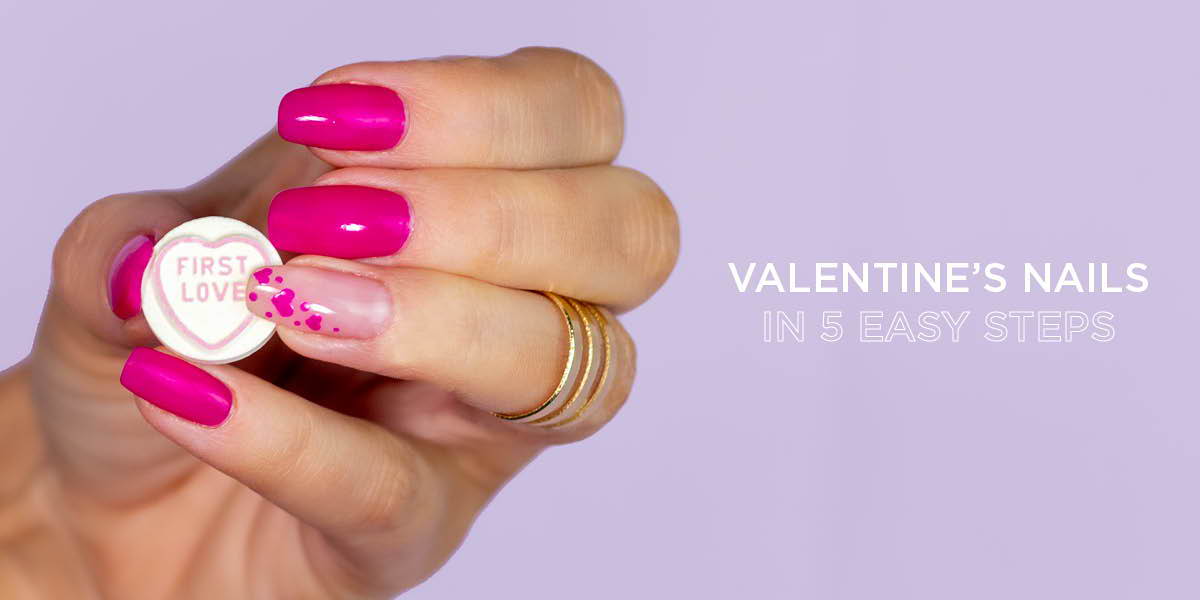
Valentine’s Day is the perfect excuse to try out some cute Valentine’s nail art. We’ve got your Valentine’s Day Manicure covered with these 5 simple heart nail art steps, using ORLY’s fave pink, purple nail polish ORLY Purple Crush.
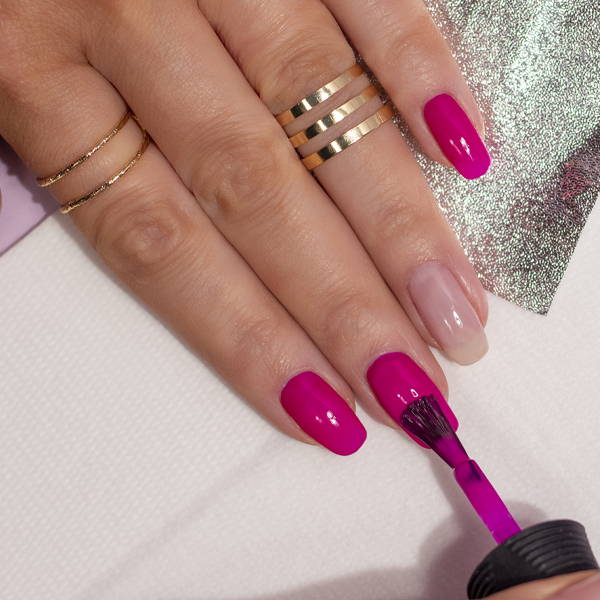
Step 1. Prep Your Nails
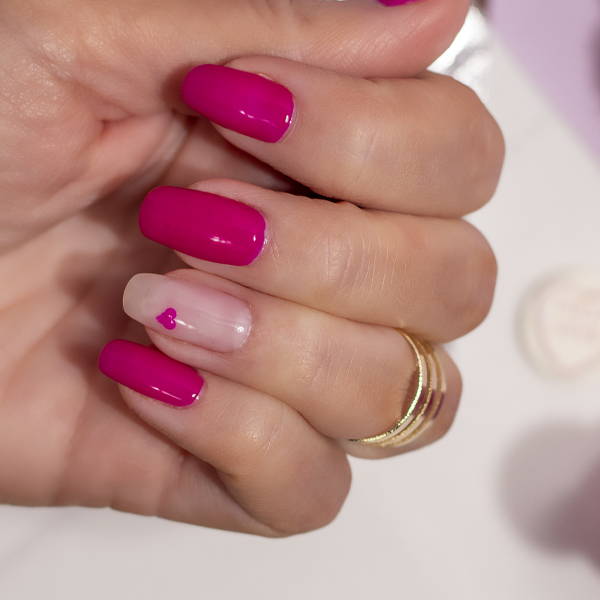
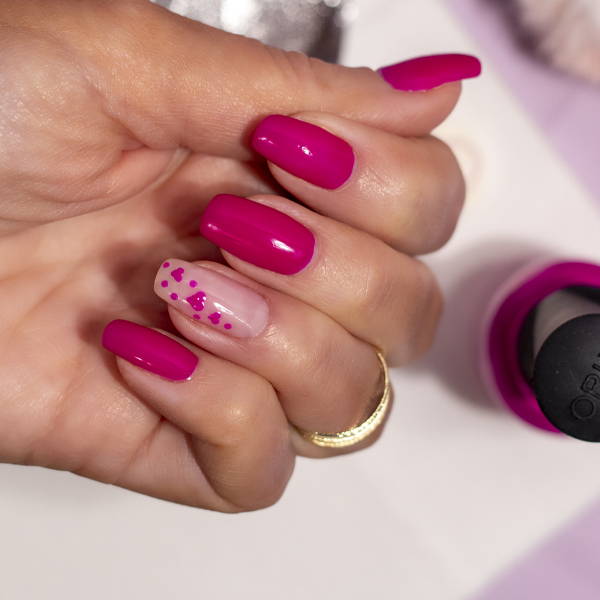
Make sure your nails are clean and all nail polish has been removed ready to apply your ORLY Bonder Basecoat. Then apply two coats of your chosen ORLY pink or red nail polish to all your nails bar your ring finger. We used ORLY Purple Crush nail polish. Make sure you cap the free edge of the nail to prevent chipping.
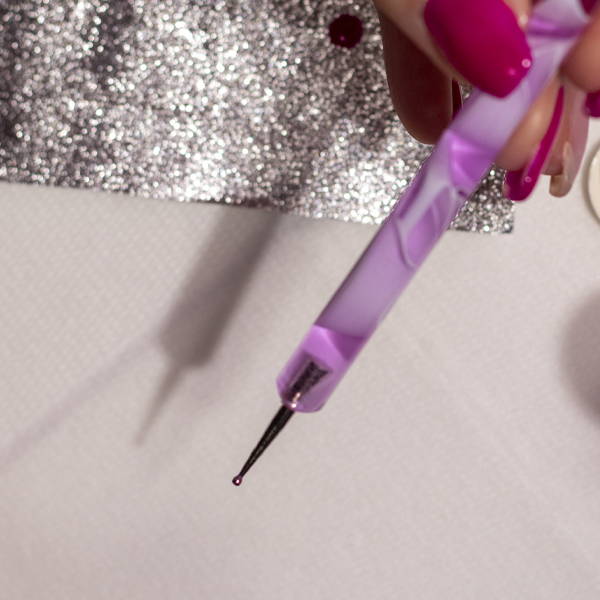
Step 2. Nail Art Tools
To create the heart nail art you will need a small square of tin foil and a dotter nail art tool. If you don’t have a dotter you can use the curved end of a hair grip, tooth pick or match. Apply a small dot of your nail polish to the foil, ready to apply.
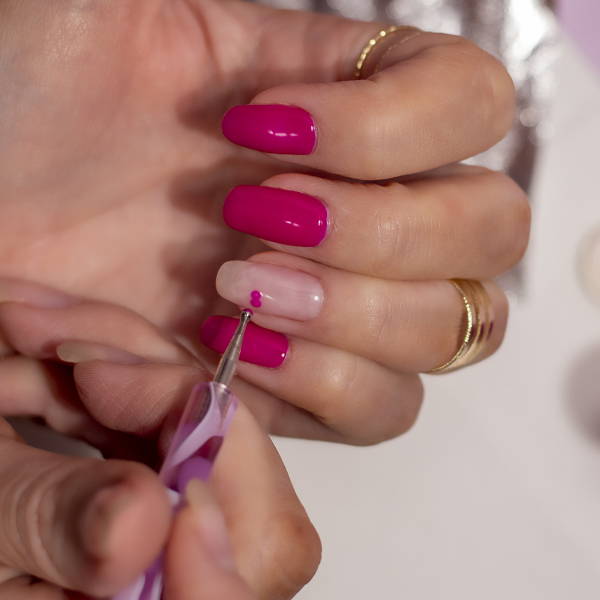
Step 3. Create Your Heart Nail Art
Create the heart nail art use the dotter tool, dip this into the pink nail polish and place two dots next to each other on the nail. Make sure the dots are next to each other but don’t overlap.
Step 4. Completing Your Heart Nail Design
Place your dotting tool in between the dots and drag down from the centre of the two dots so they meet in a v shape to create your Valentine’s heart nail art.
Step 5. The Finishing Touch
Allow your Valentine’s Day mani to polish to dry fully. Once your nails are dry apply ORLY Polishield 3-in-1 topcoat to all of your nails to give your nails a beautiful glossy high shine finish and ensure your nail art won’t chip.
SHOP THE BLOG
Follow us @ORLYnailsUK